
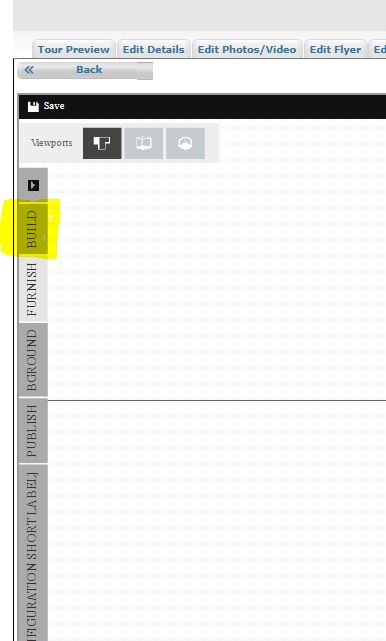
Click on the Build tab to the left of your screen.
To configure your wall heights and thickness click on the icon with 3 lines and circles as indicated in the shot below.

See below to see the defaults. You can change these if you need.

Click on Exterior under Draw walls.

Draw around the plan, clicking where each interior wall intersects with the exterior walls. This sets your room dimensions. This will help if you are creating a 3D image and want to utilize the floor, wall and ceiling materials and colors.
Adjust the opacity of the original sketch so you can see what you have drawn. Click on the background tab, slide the opacity to the far left. The original sketch will disappear.
Once the original sketch is gone, you can see what was drawn. At this point you can straighten any lines and make any adjustments.

To draw the interior walls, turn the opacity back up so you can see your sketch. Go back to the Build tab and click on Interior

Draw around the interior walls. Once you have the interior walls drawn, turn down the opacity again to see the walls you have drawn. This allows you to see if you have missed any walls.
Use the surface tool to define spaces without walls. You can see on the example there are no walls defining some of the rooms. We need those areas defined so we can add room names. Use the surface tool to draw “invisible” walls.
