Step-by-step on how to add, edit, or delete content in your listing
You first want to navigate to the "Stories" tab on your home page. This will bring up all of your saved homes.
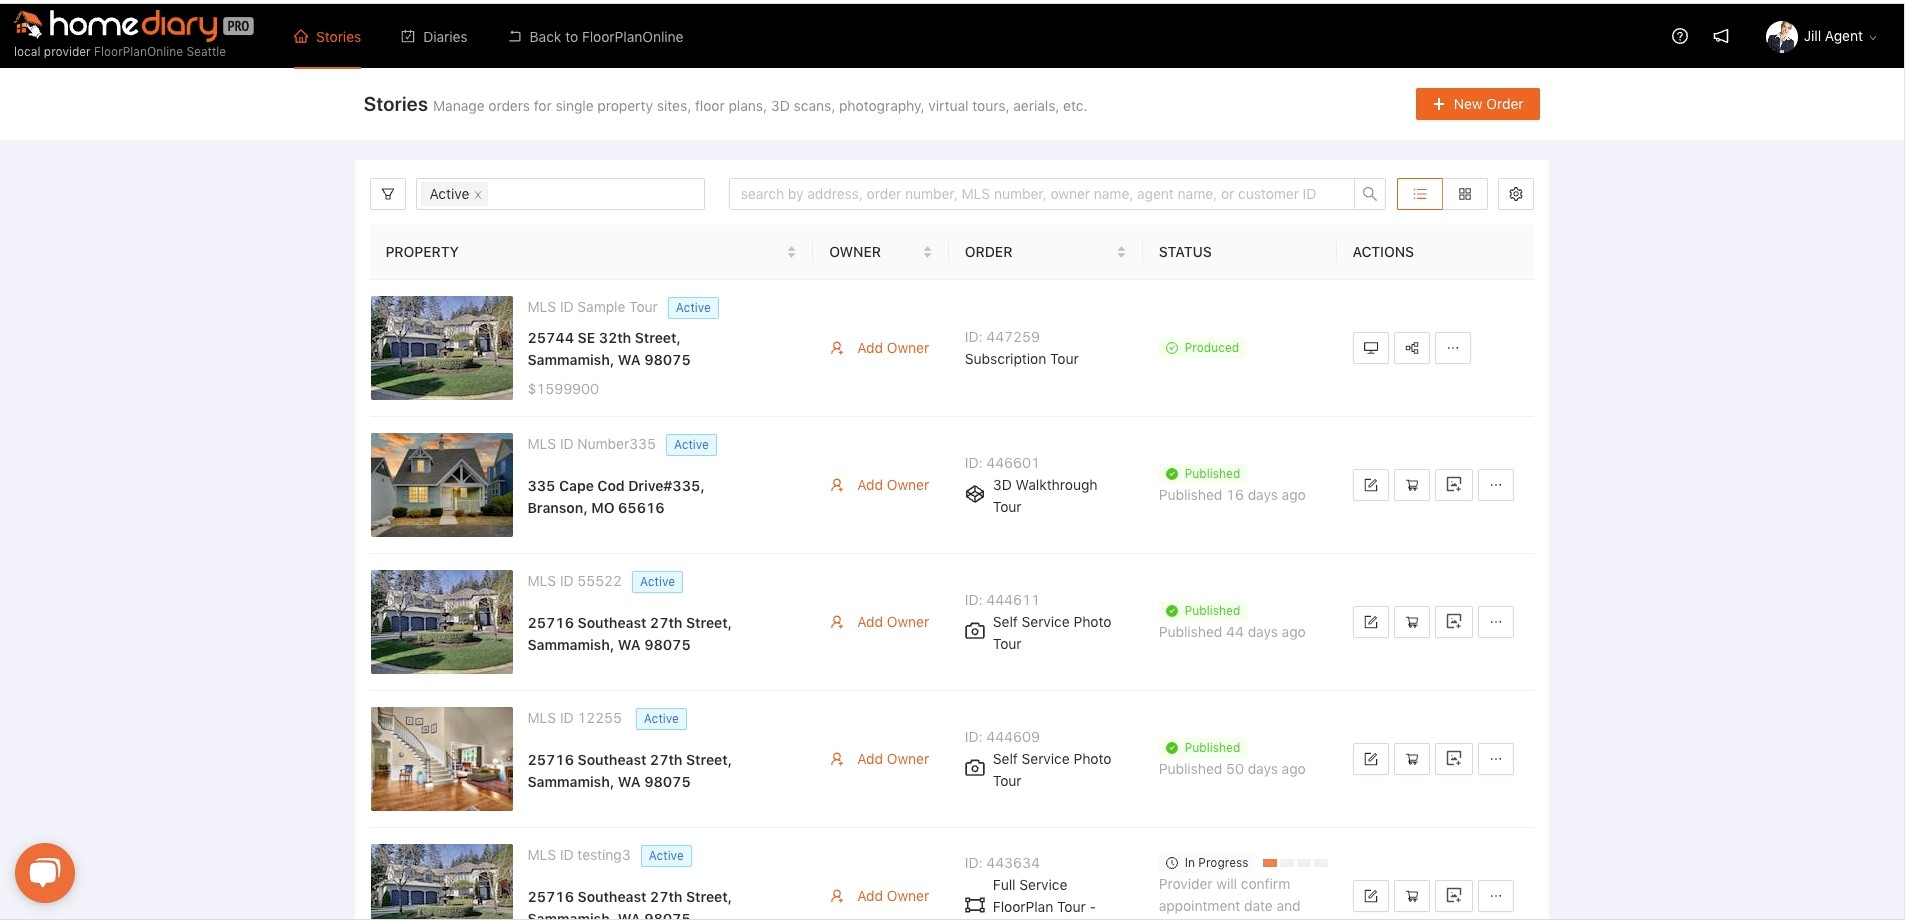
Then, move your cursor to the property that you want to make changes to, and click on the "Manage Media" button.

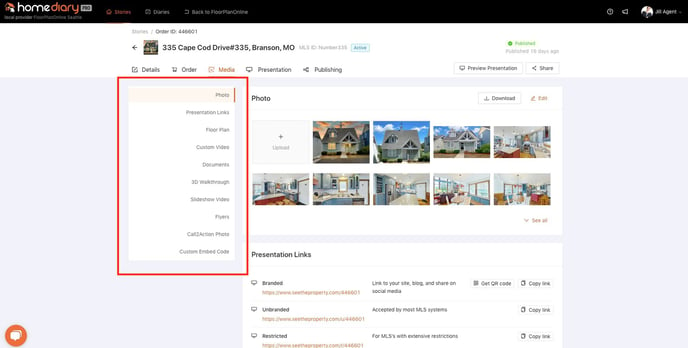
Once you are in the Media hub, you will see a list of aspects of your tour. Click on or scroll down to your desired media to navigate to the editing section.
For Help in Photos
You will see "Download" and "Edit". Download allows you to download photos to your computer in the form of a zip file. To access individual photos, you will need to navigate to the zip file in your computer and open it. Edit allows you to edit all aspects of the photo gallery.
After clicking edit, you will see your storyboard, which is all the photos for your tour.
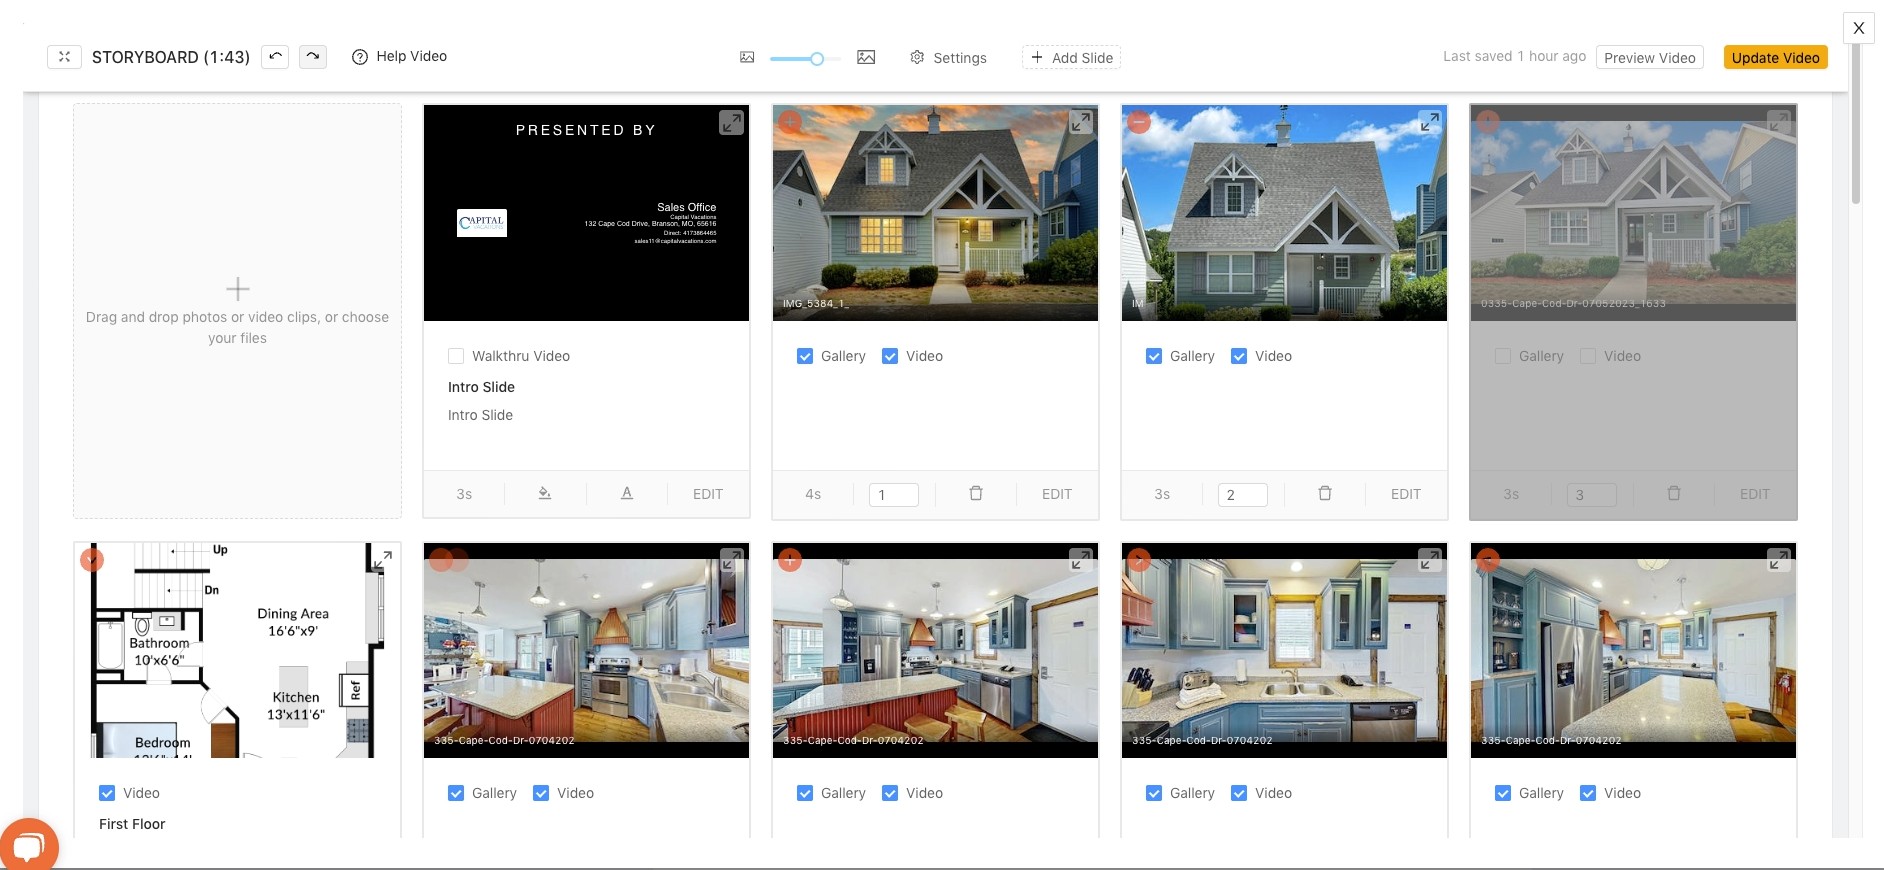
To get to a specific photo, you can simply scroll to your desired photo. You will see a shortened edit board. To see the expanded edit board, simply click on the photo.
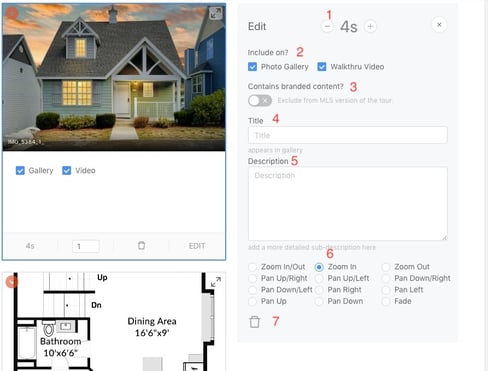
Here you have multiple options to edit your photo. 1) This allows you to change the time the photo is shown in the tour 2) This allows you to control where the photo is shown 3) This allows you to exclude the MLS version of the tour if you have branded content 4) This allows you to add a title to the photo 5) This allows you to add a description to the photo 6) This allows you to control how the photo is shown in the tour, including adding fade or zooming in or out 7) This will delete the photo from the tour.
Task Bar
At the top of the storyboard, you will see a task bar. From here, you can edit aspects of the slideshow such as music in the "Settings" button. "Add Slide" allows you to add a new slide to the end of the slideshow. "Preview Video" will allow you to view the slideshow in its current state, and "Update Video" will save your slideshow, along with any changes you have made. This will start the video creation process, which may take up to an hour.

For Help in Presentation Links
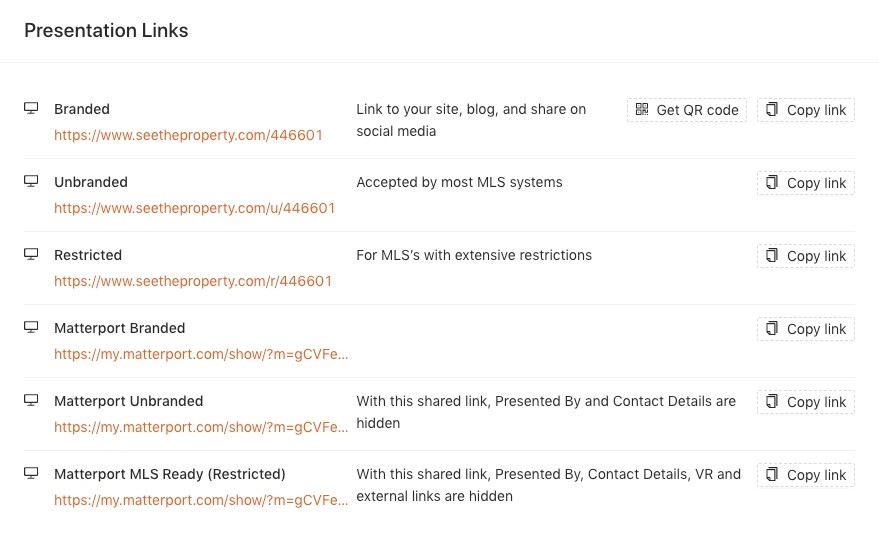
In this section, you will see links to your tours. Each one has different options for branding (or lack thereof). You can copy the link as seen on the right-most column for your own purposes.
For Help in Floor Plan
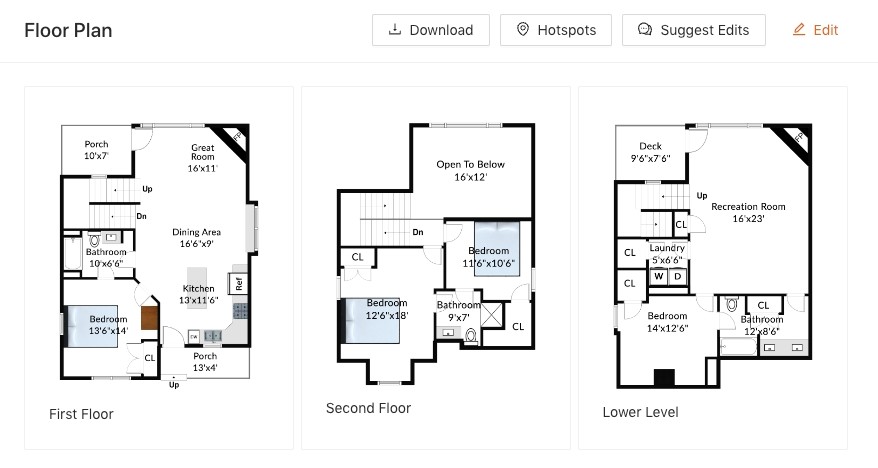
Here you will be able to manage your floor plan. You can download it either as a pdf or jpg, see where the scans were taken with "Hotspots", or edit the floor plan with "Edit"
Editing
For detailed instructions on editing floor plan, see the video below.
For Help in Custom Video
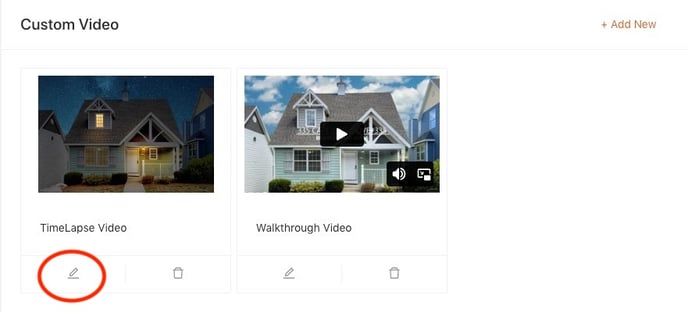
Here you will be able to view, manage, and delete existing videos or add new ones. 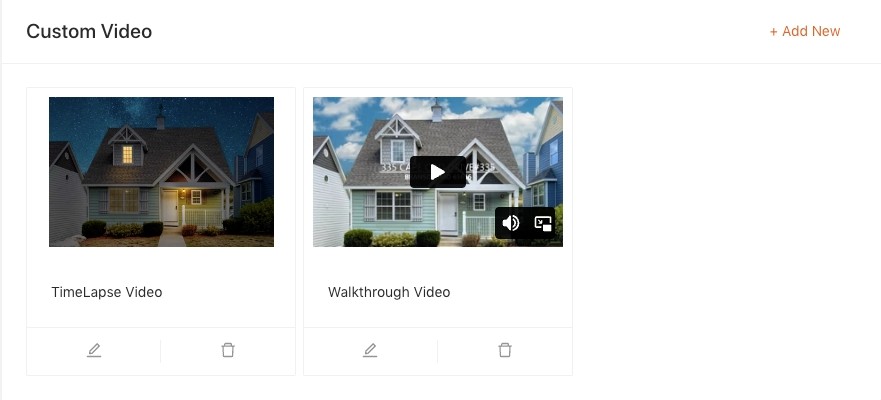
To see video specifications, you can click the pencil icon as shown in the picture below. This will bring up a menu with the video title, type, and ID and will allow you to toggle where it is shown (Branded or Unbranded).
For Help in Documents
Here you can add any documents you may want that pertains to your listing, helping to organize. Simply click "Add" and you can upload documents.

For Help in 3D Walkthrough
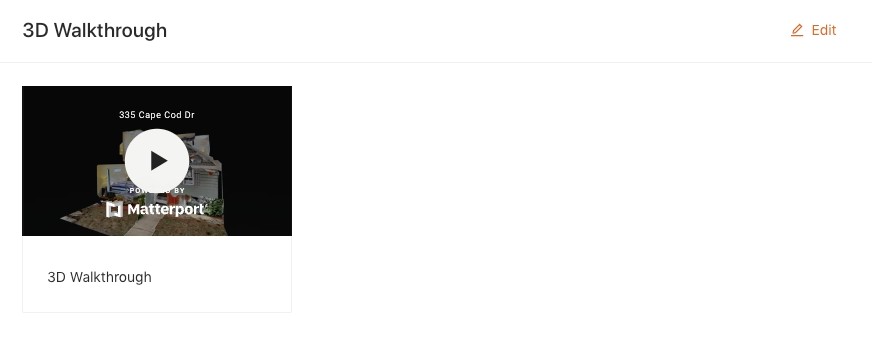
In this section, you will be able to manage any existing 3D walkthroughs you had done on the property, or add any new ones. Click "Edit" to bring up a menu where you can see any existing 3D walkthroughs. Click "Add Matterport" to add another walkthrough, specifying the Matterport ID.
 For Help in Slideshow Video
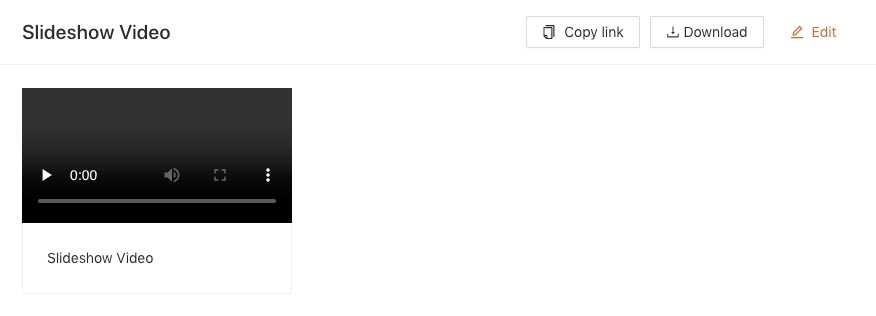
In this section you can view or edit any existing slideshows, as well as copy a link to the video or download it. By clicking "Edit" you will be brought back to the storyboard. This is where you can edit the slideshow and update it. The finished product will appear in this section.
For Help in Flyers
In this section you can make and download any flyers you might want for the property. Clicking "Edit" will take you through a tutorial on making a flyer, which you can then download to your computer for printing or distribution purposes.
For Help in Call2Action Photo
In this section you can download any Call2Action photos you may have. Click the "Download" button to download a zip file that will contain the the Call2Action.
A Call2Action is an all-in-one flyer which includes a mash-up of the floor plan, 3 photos of your choosing, a front view of the house, and a QR code that will bring up the tour when scanned.
For Help in Custom Embed Code
In this section you can embed any additional custom videos you may want to include in your tour. Simply click "Add" and it will bring up a menu where you can add your code.

